Comprehensive End of Tenancy Cleaning Guide for Renters
Posted on 04/06/2025
Comprehensive End of Tenancy Cleaning Guide for Renters
Renting a home comes with various responsibilities, but perhaps one of the most essential--especially when it's time to move out--is conducting a thorough end of tenancy cleaning. Whether you're a first-time renter or a seasoned tenant, understanding what's required can help you secure your deposit and leave your rental property in top condition.
What is End of Tenancy Cleaning?
End of tenancy cleaning is the deep and meticulous cleaning performed at the end of your tenancy before handing the property back to your landlord or letting agent. This goes beyond standard weekly cleaning; it focuses on leaving the place spotless, addressing areas often overlooked during your stay. Failing to carry out an adequate move-out cleaning can lead to part or all of your deposit being withheld.
Why is it Important?
- Deposit Recovery: Landlords typically require a security deposit as insurance against damage or unpaid rent. The majority of deductions are due to poor cleanliness or damage, making a comprehensive end of tenancy clean vital for deposit recovery.
- Meeting Legal Requirements: Many tenancy agreements stipulate specific cleaning standards upon move-out.
- Good References: Leaving the property in excellent condition improves your chances of receiving positive references for future rentals.
- Avoiding Extra Costs: If landlords need to hire professional cleaners because you left the rental dirty, they can charge you more than if you took care of it yourself.

Preparing for a Move-Out Cleaning
Preparation is key to successful end of lease cleaning. Start by planning ahead and gathering the supplies you'll need. Here's how to get started:
Checklist of Supplies and Equipment
- Vacuum cleaner and mop
- Microfiber cloths and sponges
- Glass cleaner
- Limescale remover
- Degreaser and multi-surface cleaner
- Baking soda and white vinegar
- Furniture polish
- Toilet brush and descaler
- Protective gloves
- Rubbish bags
Declutter Before You Clean
Start by removing all personal belongings, trash, and any items that didn't come with the property. Clearing the space first allows for a better, more comprehensive clean--and helps you spot potential repairs or stains you might otherwise miss.
Step-by-Step End of Tenancy Cleaning Guide
Here's a room-by-room guide to ensure your cleaning is thorough and nothing gets overlooked:
1. Kitchen
- Oven and Hob: Use oven cleaner or a mixture of baking soda and vinegar to remove burnt-on grime and grease from the oven, stovetop, and extractor fan. Don't forget the racks and trays.
- Fridge/Freezer: Defrost the freezer, wipe down all shelves, doors, and exterior surfaces. Leave doors open to prevent odor build-up.
- Microwave and Small Appliances: Wipe inside and out. Remove glass trays and clean thoroughly.
- Cupboards and Drawers: Empty, vacuum crumbs, and wipe down inside and out.
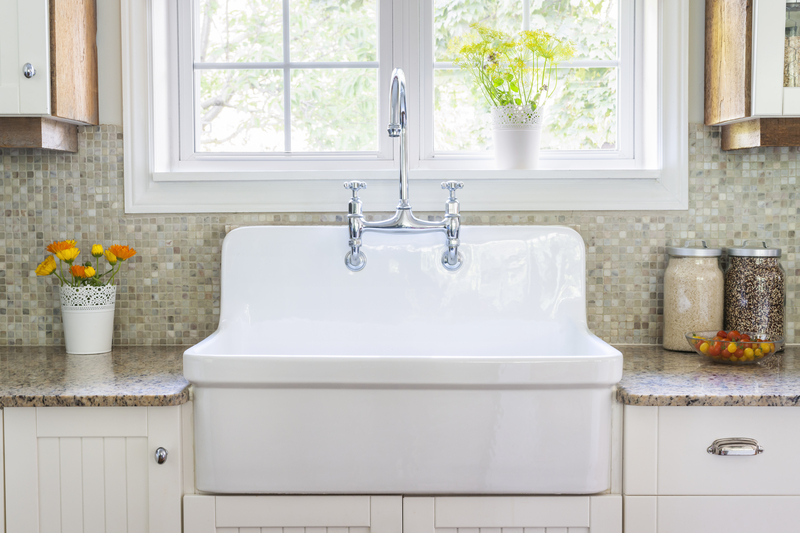
- Sinks and Countertops: Descale and remove all stains, polish taps, and clean behind the sink.
- Floors and Tiles: Sweep, mop, and remove stains or stickiness from floors and wall tiles.
2. Bathroom
- Toilet: Use descaler and disinfectant inside, outside, under rim, and tank. Replace toilet seat if damaged or excessively stained.
- Shower, Bath, and Sink: Remove limescale, hair, and soap scum. Polish chrome fixtures.
- Mirrors and Glass: Clean with glass cleaner to remove streaks.
- Tiles and Grout: Scrub to remove mildew and restore whiteness.
- Extractor Fan: Dust and clean the casing and vents.
- Floors: Mop and disinfect, especially around the toilet and sink bases.
3. Living Room and Bedrooms
- Dusting: Dust all surfaces including baseboards, door frames, light fixtures, shelves, and electronics.
- Windows: Clean the inside (and outside if possible) of windows, frames, and sills.
- Carpets and Upholstery: Vacuum carpets/rugs and consider professional steam cleaning for persistent stains or heavy use.
- Wardrobes and Drawers: Empty and wipe inside and out. Ensure there's no leftover personal property.
- Furniture: Wipe all hard surfaces and vacuum any soft furnishings if supplied with the property.
4. Hallways and Entryways
- Doors and Handles: Wipe down all doors, including front and back doors. Pay extra attention to handles and switch plates.
- Floors: Sweep, vacuum, and mop as applicable.
- Skirting Boards and Corners: Remove dust, dirt, and cobwebs from corners and edges.
5. Outdoor Areas (If Applicable)
- Balcony, Patio, or Garden: Sweep, remove weeds and debris, and ensure any furniture is left clean.
- Garbage Disposal: Remove all trash and take out bins as required by your tenancy agreement.
Special Attention Areas
- Walls: Remove stains, fingerprints, and marks. Use gentle cleaning to avoid damaging paintwork.
- Light Fixtures and Bulbs: Dust and wipe; replace any burnt-out bulbs.
- Windowsills and Track: Vacuum and wipe out dust and debris.
- Behind and Under Furniture/Appliances: Move items where possible to clean behind them.
- Radiators/Heaters: Dust off tops and insides, especially in winter when dust builds up behind radiators.
Frequently Missed End of Lease Cleaning Spots
- Behind the toilet and under sinks
- Tops of doors and picture rails
- Ventilation grates
- Curtain rails and blinds
- Inside washing machine and dishwasher seals
Not overlooking these spots can make a huge difference during final inspections!
Should You Hire Professional End of Tenancy Cleaners?
While DIY cleaning is possible and can save money, hiring professional end of tenancy cleaners can be a wise investment, especially if:
- You're short on time or energy
- The property is large or particularly dirty
- You want to guarantee the deepest clean and protect your deposit
- Your tenancy agreement specifically requires professional cleaning
Professionals typically guarantee that the property will meet landlord standards, and often work from an established end of tenancy cleaning checklist. They may even return to correct any issues found by the landlord during the final inspection at no extra charge.
How Long Does End of Tenancy Cleaning Take?
The time needed for comprehensive move-out cleaning varies by property size, cleanliness, and number of cleaners involved. On average:
- Studios/Small Flats: 3-4 hours
- 2-3 Bedroom Apartments: 5-8 hours
- Larger Homes: 8+ hours, possibly requiring a team
Always allow extra time for stubborn stains or areas in heavy use (like kitchens and bathrooms).
Inspection and Inventory Tips
- Review your tenancy agreement: Some contracts specify professional cleaning or particular standards for the return of the property.
- Check the inventory report: Use the original move-in inventory as a guide for which items must be cleaned or addressed.
- Take photos: Photograph each room after cleaning as evidence in any deposit disputes.
- Arrange a pre-inspection: If possible, ask your landlord or agent to inspect the property before your final day to identify and fix missed areas.
Landlord and Agent Expectations
Rental agencies and landlords expect to receive the property in the same (or better) condition as at the start of the tenancy, minus reasonable wear and tear. Paying attention to detail in your end of tenancy deep clean helps prevent disputes and ensures a smooth handover.
Handling Stains, Damage, and Repairs
Cleaning alone may not resolve everything. Consider:
- Stains: Treat carpet, upholstery, and wall stains as soon as possible. Use appropriate cleaners for stubborn marks.
- Repairs: Fix small holes, chipped paint, or minor damage. For larger issues, inform the landlord honestly.
- Appliances: Replace any missing or broken parts (e.g., light bulbs, fridge shelves) if originally provided.
- Keys and Remotes: Return all keys, garage remotes, and access cards to avoid replacement costs.
Eco-Friendly End of Tenancy Cleaning
More tenants are choosing green cleaning methods. Try:
- Natural products like vinegar, baking soda, and lemon for most surfaces
- Reusable cleaning cloths instead of disposable wipes
- Steam cleaning for floors and upholstery without harsh chemicals
Eco-friendly cleaning is not only less toxic but may also be favored by landlords with concerns over allergies or sensitive surfaces.
Common Tenant Cleaning Mistakes to Avoid
- Forgetting to clean areas behind and under appliances
- Neglecting spot cleaning walls and doors
- Leaving windows dirty or streaked
- Overlooking limescale and soap scum in bathrooms
- Failing to empty cupboards and remove all trash

Final End of Tenancy Cleaning Checklist
Before locking up for the last time, run through this summary checklist:
- All surfaces throughout property wiped and dusted
- Kitchens and appliances cleaned thoroughly
- Bathrooms sanitized, descaled, and polished
- Floors swept, mopped, and vacuumed
- Windows cleaned inside (and outside if agreed)
- Storage spaces cleared and cleaned
- All rubbish removed
- Garden or balcony tidied (if applicable)
Conclusion: Secure Your Deposit with a Comprehensive Clean
Completing a thorough end of lease cleaning is crucial for all renters. A little extra time and elbow grease can make a significant difference. Remember to start preparations early, pay attention to detail, and refer back to your tenancy agreement for any specific requirements. Whether you clean yourself or hire professionals, a sparkling handover guarantees a smooth move-out, keeps your landlord happy, and ensures you get your full deposit back.
For best results, use this comprehensive end of tenancy cleaning guide as your step-by-step reference and checklist. Happy moving!


